
My first real job as a baker was at a small Korean restaurant in Indiana of all places. Yes, I lived in Indiana for a time and to be frank, my job at the Korean joint was the best thing to come out of it. I was working two jobs my first year out of college, basically floundering and without direction. It's an all too common story really: art major graduates and realizes that she has absolutely zero interest in teaching and even less interest in continuing to make work that sits in the sterile white walls of a gallery for a handful of eyes to see and not quite understand. Art major begins to idealize blue collar work and thinks maybe some good old fashioned physical labor will help clear her head.
The first job was serving and bartending at a catering company which is the reason why I had to pick up a second job dish washing at the only Korean restaurant in town. At that point in my life, food service was just beginning to become a career path in my mind. There was something extremely satisfying about coming home exhausted after a solid 12 hour day. I grew to enjoy the pace, learned how to stay calm amidst the chaos and met some people who both showed me kindness and also taught some very difficult lessons.
The first job was serving and bartending at a catering company which is the reason why I had to pick up a second job dish washing at the only Korean restaurant in town. At that point in my life, food service was just beginning to become a career path in my mind. There was something extremely satisfying about coming home exhausted after a solid 12 hour day. I grew to enjoy the pace, learned how to stay calm amidst the chaos and met some people who both showed me kindness and also taught some very difficult lessons.
 |  |
My boss at the restaurant was a tiny Korean woman named Rachel with a fierce work ethic, a gentle demeanor and a whimsical, almost child-like sense of humor. She hired me as a dish washer, but now that I look back on it I think she knew from the start I was going to do more than just wash dishes. Only a couple of weeks after I started the job, the cook stopped showing up to work and I shifted from the sink to the stove with my boss by my side, walking me through every detail of the menu in broken English. Soon I was prepping, cooking, doing service, dish washing when necessary and also baking. I was cooking with products that I had never even tasted before. Suddenly kimchi rocketed to the top of my favorite food list and I was craving bibimbap at all hours of the day and night. Eventually Rachel showed me how to bake and I began making green tea and mandarin orange chiffon cakes, red bean buns and ice cream with mochi. I reduced my hours dramatically at the catering company so that I could work at the restaurant more. It was a mixed bag experience full of stress, excitement, emotion and discovery.
When I think back on my time at that place, I have nothing but admiration for Rachel. She had two young children that she was raising while also managing her own restaurant. I remember there were times when I wanted to quit. Welcome to the work force. But now I realize that a lot of that frustration was born out of my own internal struggle, out of feeling sort of lost, being run down and missing home. I think Rachel was battling very similar things in a much more complicated way being a mother and a business owner. I will never forget one day when my attitude at work had not been the best for a week or so, and she confronted me. She found that sweet spot between being mother and boss, explaining to me that attitude is everything. When you let bitterness and vexation into your heart, it takes away from everything that you do and it imperils not only your relationships with others, but the fragile relationship with yourself.
When I think back on my time at that place, I have nothing but admiration for Rachel. She had two young children that she was raising while also managing her own restaurant. I remember there were times when I wanted to quit. Welcome to the work force. But now I realize that a lot of that frustration was born out of my own internal struggle, out of feeling sort of lost, being run down and missing home. I think Rachel was battling very similar things in a much more complicated way being a mother and a business owner. I will never forget one day when my attitude at work had not been the best for a week or so, and she confronted me. She found that sweet spot between being mother and boss, explaining to me that attitude is everything. When you let bitterness and vexation into your heart, it takes away from everything that you do and it imperils not only your relationships with others, but the fragile relationship with yourself.
I remember I started to cry and she embraced me. I had let my dissatisfaction with certain things about the job and my life get in the way of doing my best every day. I had temporarily lost the vigor and positivity I had when I first started working at the restaurant. And even though there were legitimate reasons to be frustrated, I had to refocus on the things I could control. She gave perspective when I was drowning in my own. Unfortunately I have to relearn that lesson from time to time, but that's ok because it is a very important one.
When Rachel taught me how to bake, that's when things really clicked. I remember something in my brain opened up and baking was all I could think about. The first time I tried the red bean buns I was blown away. The idea of beans being inside of a pastry was so radical to me. The idea of baking for a living is still radical to me. When I actually stop and think about what I do every day, it fills me with more joy than I can ever possibly convey.
I guess I finally found that sweet spot.
I guess I finally found that sweet spot.
This recipe was a community pick on Food 52!
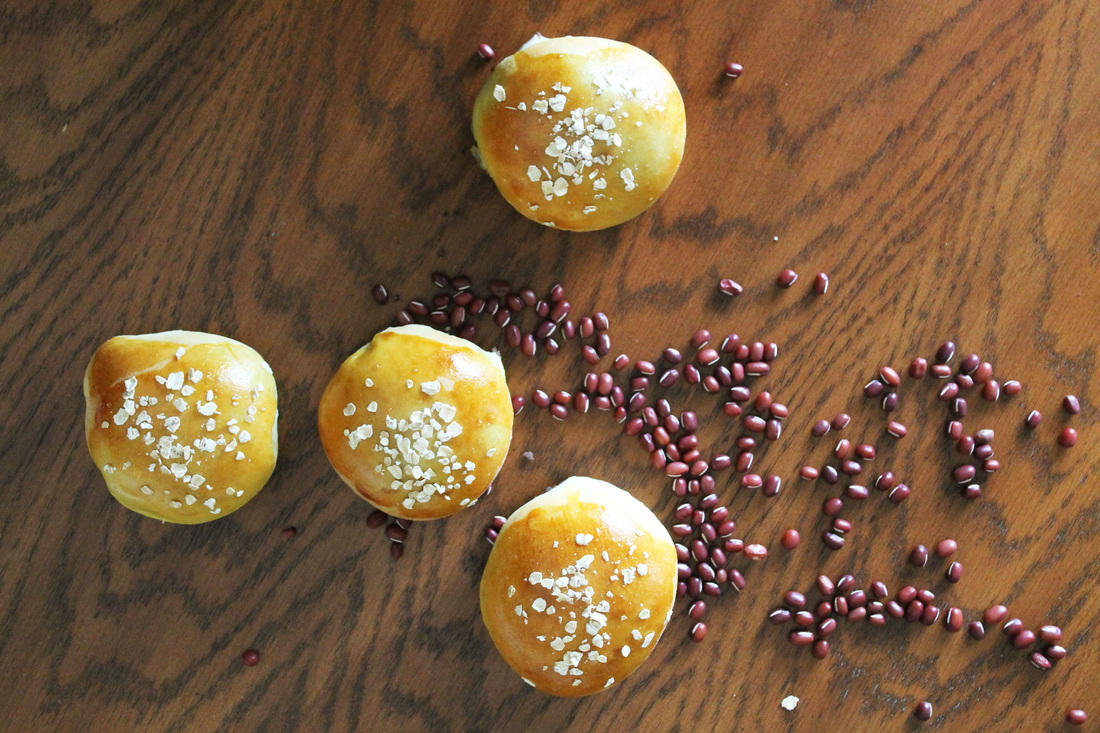
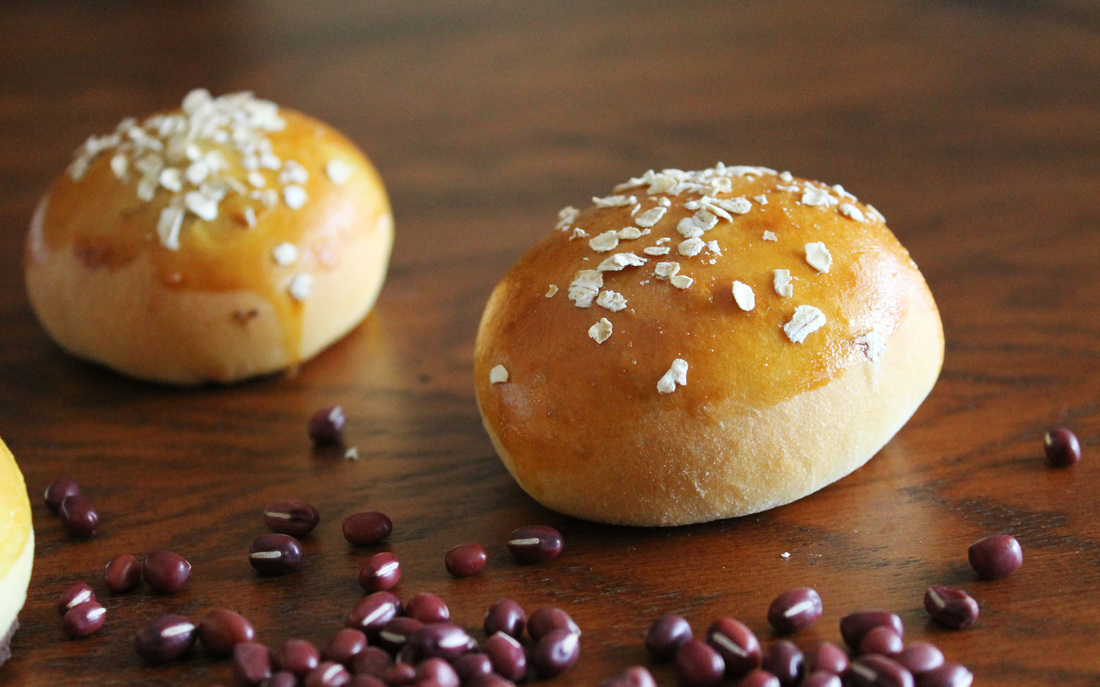
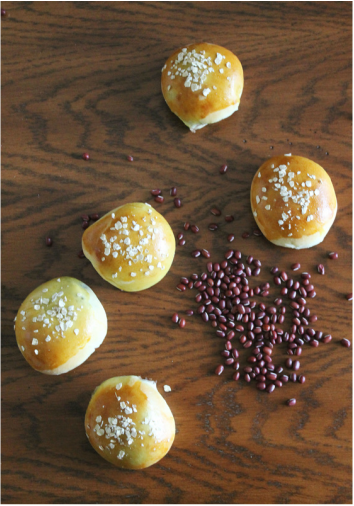
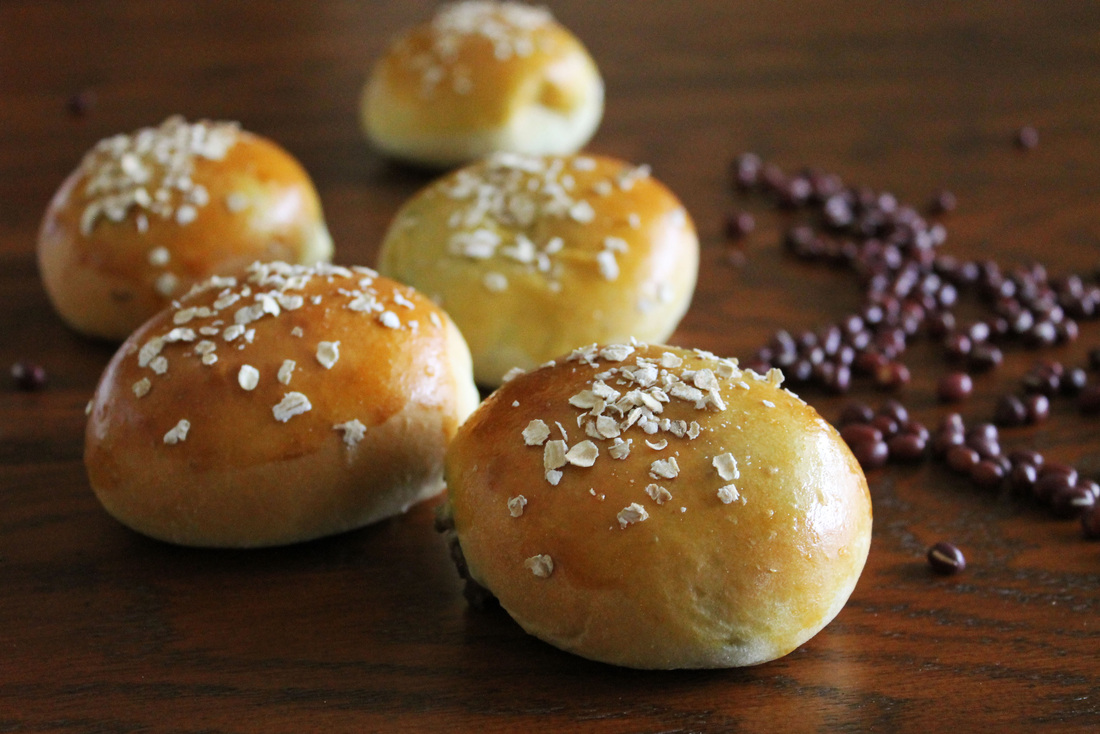
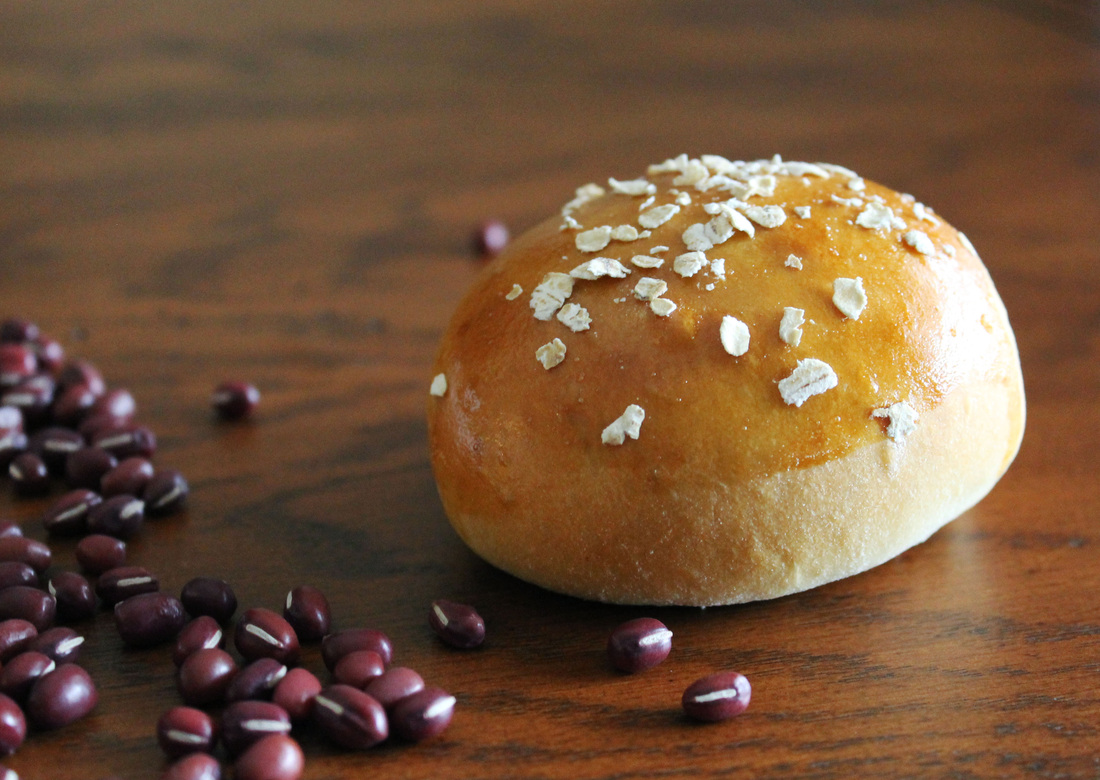
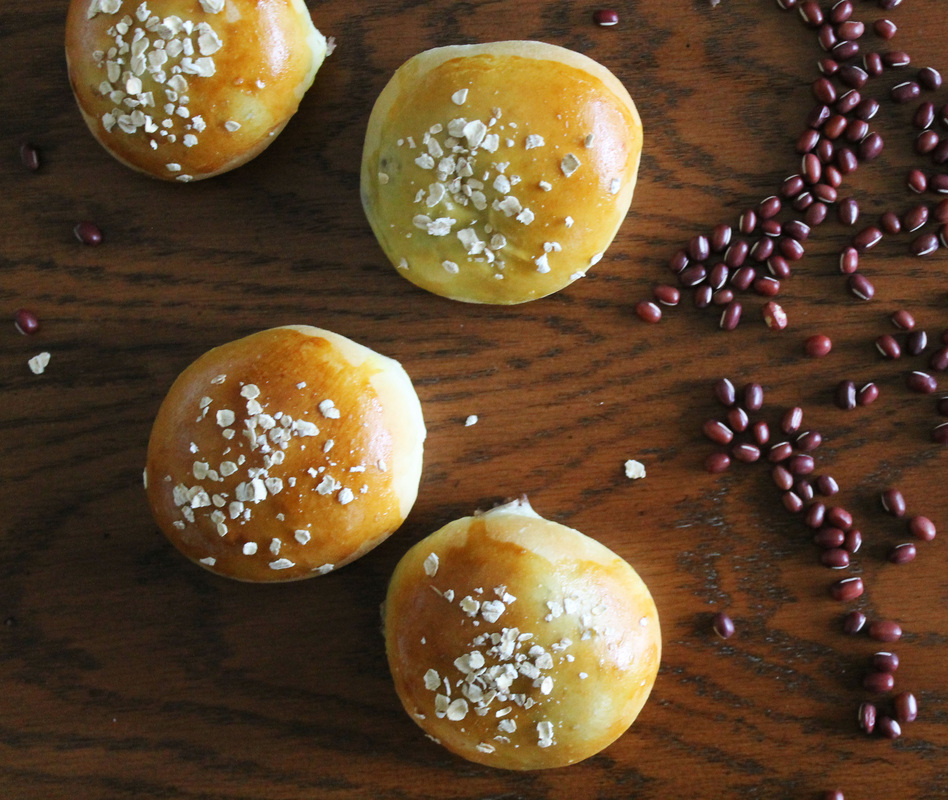
Red Bean Buns
Makes 8 small buns
(Dough adapted from Angie & James Do Stuff)
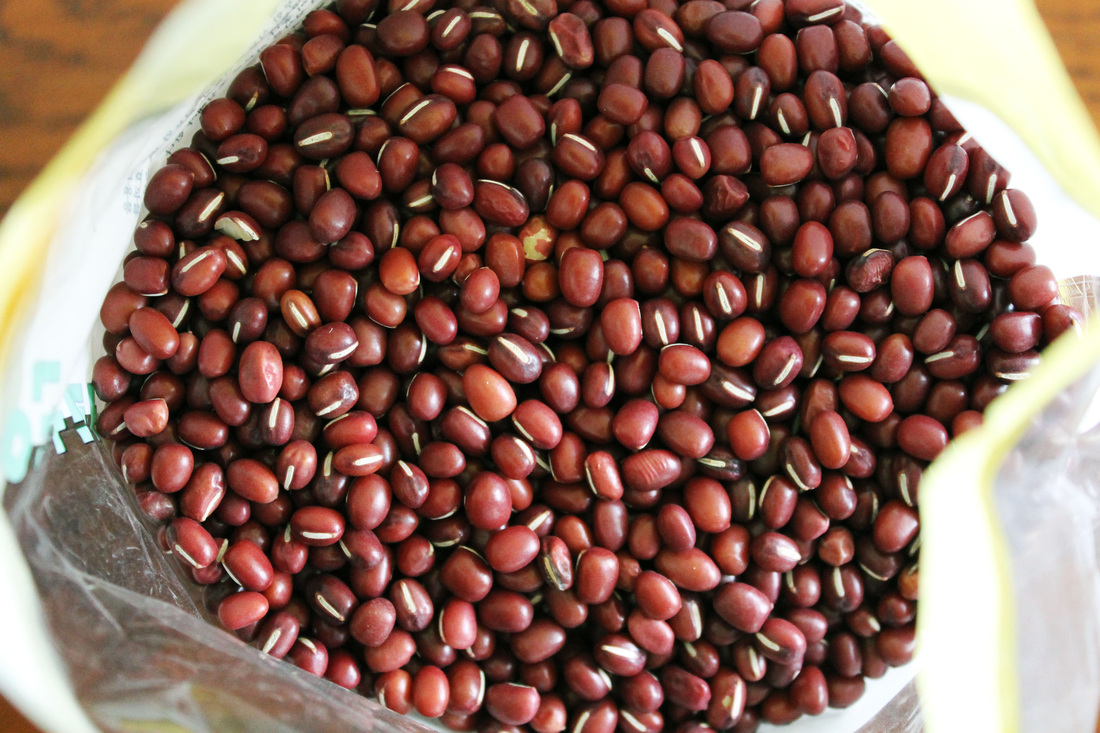
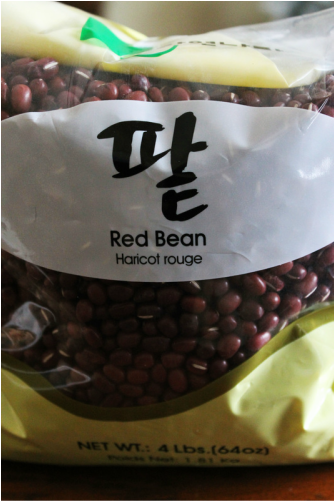
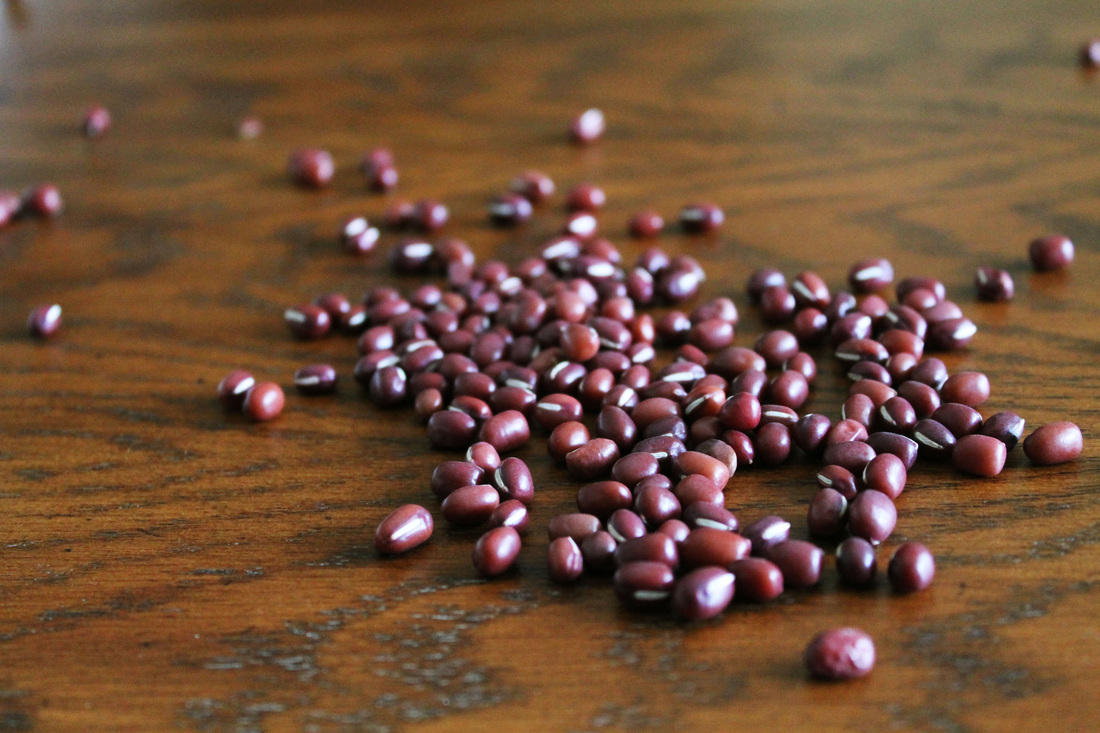
| Ingredients For the filling 4 oz dried adzuki beans 1 3/4 oz (1/4 cup) sugar (or to taste) 1 tbsp butter, softened zest of 1 orange pinch of salt For the dough 248 g (about 2 cups) bread flour 41 g (3 1/2 tbsp) sugar 1 g (1/4 tsp) salt 9 g (1 1/2 tbsp) milk powder 5 g (2 tsp) instant yeast 57 g (1 large) egg, beaten 100 ml warm water 26 g (2 tbsp) butter, softened For the assembly Egg wash (1 egg beaten with a bit of water) Sesame seeds or quick oats | Method For the filling If it's possible, soak the beans for at least 8 hours. I let mine soak overnight. To cook the beans, rinse them well, add to a saucepan and cover them with a couple inches of cold water. Bring the beans to a boil and then reduce to a gentle simmer. Cook until very soft - about 1 hour. After the beans have cooked, drain them and then pass them through a food mill to create a paste. The food mill is the ideal tool to use for this because it will remove the skins. You can leave the skins on, but the paste will not be as smooth. You can read about the two different kinds of sweet red bean paste (anko) here. Once processed and while the paste is still warm, sweeten the paste with sugar and stir in the butter, zest and salt until incorporated. Press some plastic wrap on top so a skin doesn't form. Store it in an airtight container in the fridge until cool. It will thicken after it is cool and also taste sweeter. You can buy pre-made anko but it's nice to be able to control the amount of sweetness in the paste. For the dough In the bowl of a stand mixer fitted with a dough hook, combine the flour, sugar, salt, milk powder and yeast. Turn the hook on to mix the dry ingredients while you combine the beaten egg and warm water. Slowly add the wet to the dry as the dough hook does it's work. Knead the dough on medium low speed until it is smooth and not too sticky. You can also do this by hand and since it is such a small amount of dough, it is actually easier by hand. At this point, slowly incorporate the butter in small chunks while the mixer is still running. Knead for a couple of minutes until the dough is very smooth and elastic. It will still be a bit sticky. Lightly oil a bowl. Flour your work station and turn the dough out onto the flour. Shape it into a ball and place it seam side up into the oiled bowl. Cover with a kitchen towel and let it rest in a warm spot for about 1 hour, or until double in size. Gently punch down the dough and divide it into eight equal pieces. Shape them into little balls by folding them in on themselves and then rounding them to create some surface tension. Here is a very helpful video. Space them evenly on a parchment lined tray, cover with a towel and let them proof for about 30 minutes. For the assembly Preheat a conventional oven to 350 F. When you are ready to bake the buns, gently flatten each ball until they are slightly larger than your palm. Fill each circle of dough with anko. Brush the edges of the dough with egg wash and then wrap the dough around the filling, pinching and sealing it tightly. Round the buns again creating a bit of surface tension and place each bun, seam side down, back on the lined tray. Take care not to stretch them too much, otherwise the filling will ooze out. Brush them all with egg wash and then sprinkle sesame seeds or quick oats on top. Bake the buns for about 20 minutes until golden brown. Let them cool slightly on a wire rack before serving. |
 RSS Feed