
There is nothing logical about loss. There are emotions and experiences associated with loss. There are "stages" of grief. But I think there are as many ways of dealing with the loss of someone or something as there are people. There is no time frame at the end of which the sorrow ends, there is no clean line from point a to point b when navigating through the forest of mourning. Grieving simply takes time. And sadly, there are losses that last lifetimes.
My family recently experienced a loss that was very complicated and painful for all of us, but particularly for my father, his siblings, my grandmother and two of my cousins. I was talking about it recently with a dear friend of mine over tea and she had a thought that made so much sense to me but had never really resonated before. She said how grateful she felt to be able to deal with loss in creative ways. It was moving to hear her talk about being grateful during a difficult time. I immediately thought of my father who wrote a play about the loss in our family that debuted just recently as a workshop production in New York City. I thought about the bravery in his vulnerability and how fortunate I have been to have an example of sensitivity and thoughtfulness in my life.
Elliott Smith once said, "A lot of people are kind of depressed. I'm happy some of the time, and some of the time I'm not."
I think that encompasses living. Living is a continuous expanse of blissful hills of joy and abysmal valleys of loss. We all experience those feelings constantly in varying degrees and to different depths. Creatively-inclined individuals are not the only ones who truly feel the thorns of sorrow. We all do. And you don't have to be a potter or a baker to fully embrace all the facets hurt and healing.
I think when we do something like bake a pie, write a play, prune a tree or tinker under the hood of a truck, we engage our bodies and our brains in a dance of healing that neutralizes the raw emotion and re-dresses the wound. It temporarily filters the chaos in our minds and it provides us with something tangible despite the emptiness.
We have to take the remnants of what is gone and make something beautiful.
 | 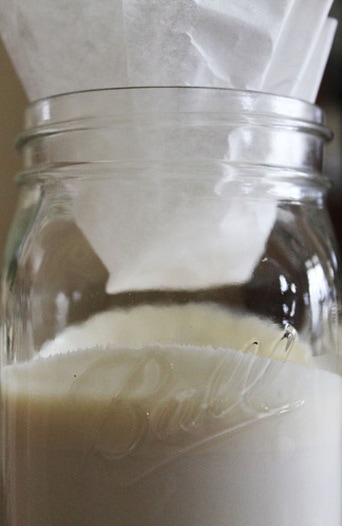 |
Homemade Buttermilk
Makes 2 cups
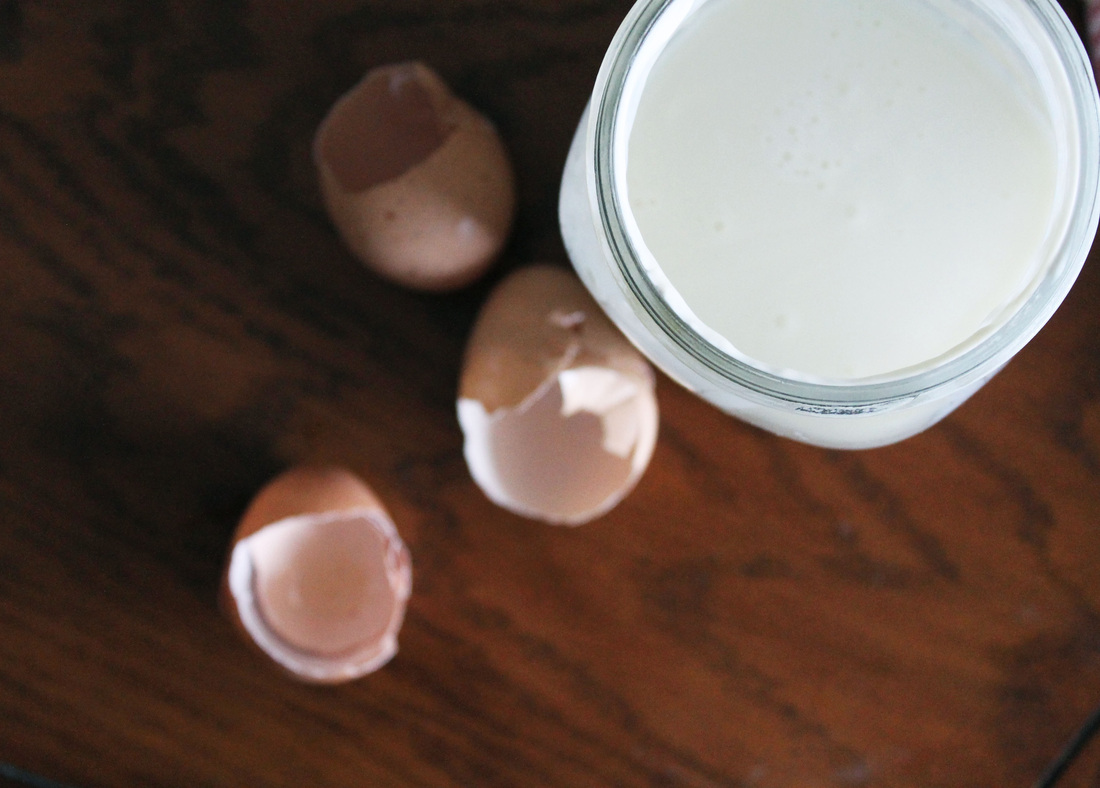
Making homemade buttermilk is very much akin to making homemade yogurt. Some recipes insist that you pasteurize your milk, but if you use store bought milk it is already pasteurized. I have had great success using raw milk and I love the flavor.
A good general rule for making buttermilk is one tablespoon of buttermilk "starter" for every cup of milk. After you make the buttermilk, you can save a bit of it to make your next batch. Alternatively, you can make butter and get buttermilk that way!
A good general rule for making buttermilk is one tablespoon of buttermilk "starter" for every cup of milk. After you make the buttermilk, you can save a bit of it to make your next batch. Alternatively, you can make butter and get buttermilk that way!
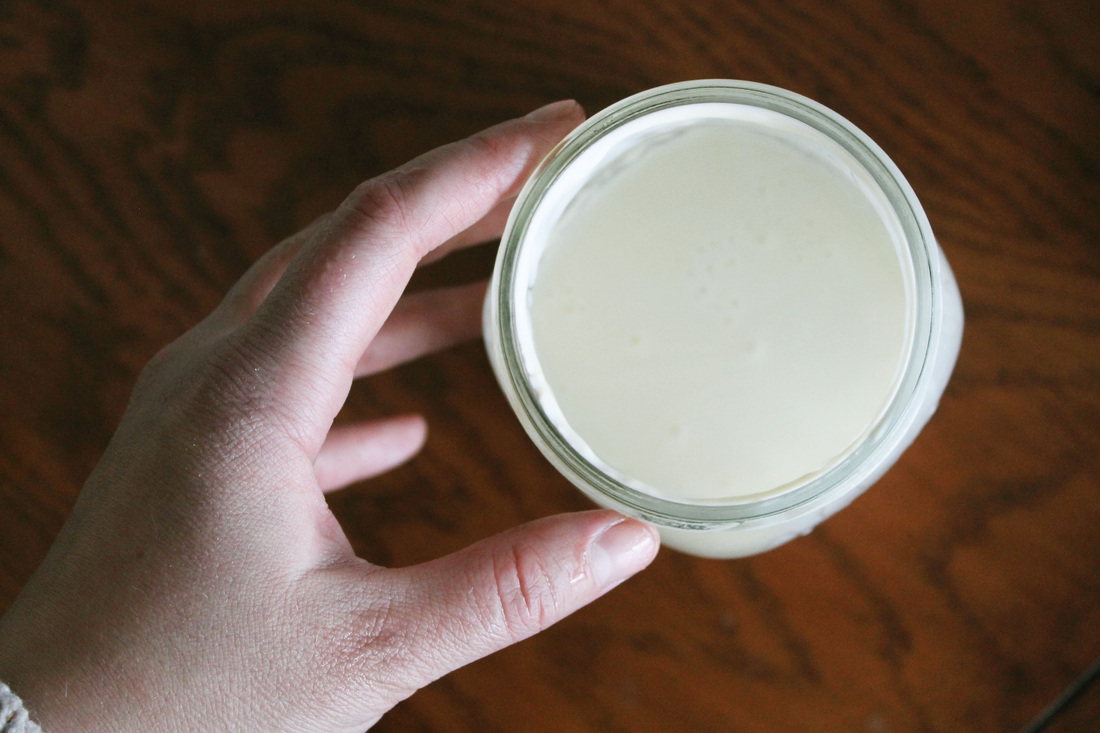
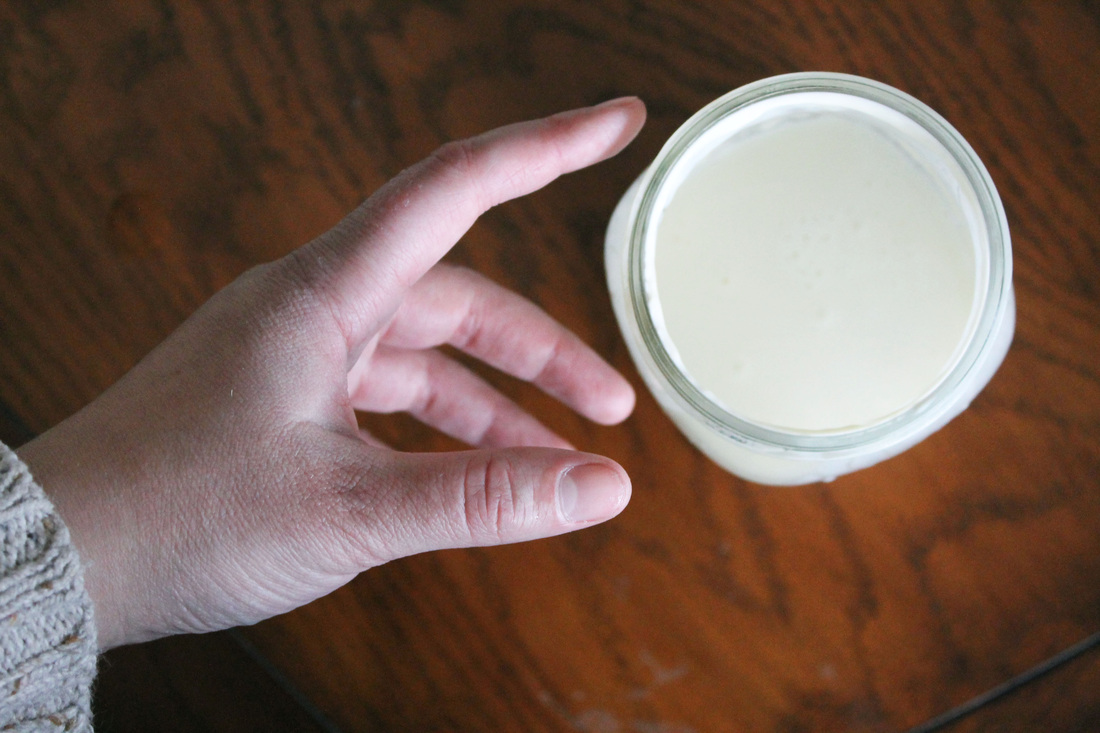
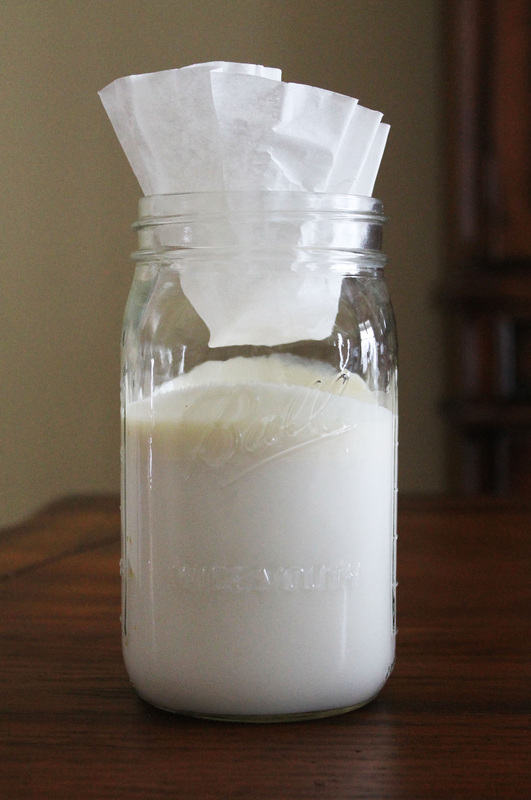
| Ingredients 2 tbsp cultured buttermilk 2 cups raw or pasteurized whole milk | Method In a mason jar or other container, add the cultured buttermilk and then cover with the milk. Place cheesecloth or a clean coffee filter over the opening of the jar and let sit in a warm place for at least 8-10 hours, or until the mixture has "clabbered." The buttermilk is ready when it is thick enough that the mixture moves away from the jar's edge in a single mass when the jar is tipped. I actually left mine to culture for 24 hours because I love the extra extra tang, but this amount of time is not at all necessary. Replace the cheesecloth or filter with a lid, seal the jar tightly and store in the refrigerator for at least 8 hours before use. Shake well. |
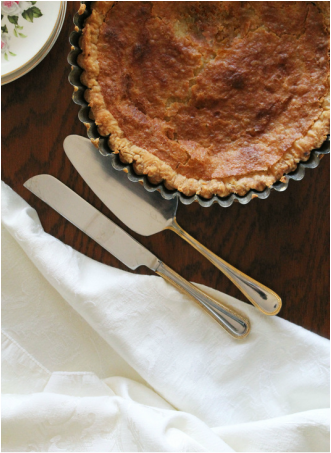 | 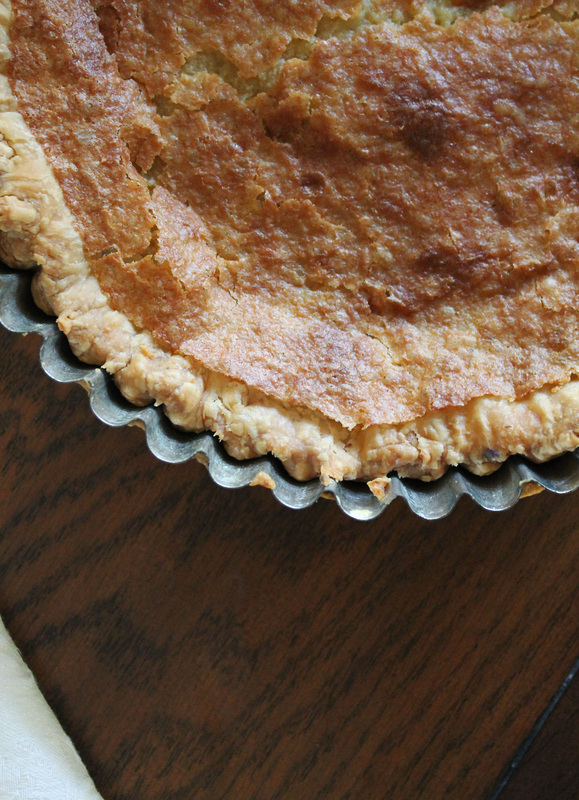 |
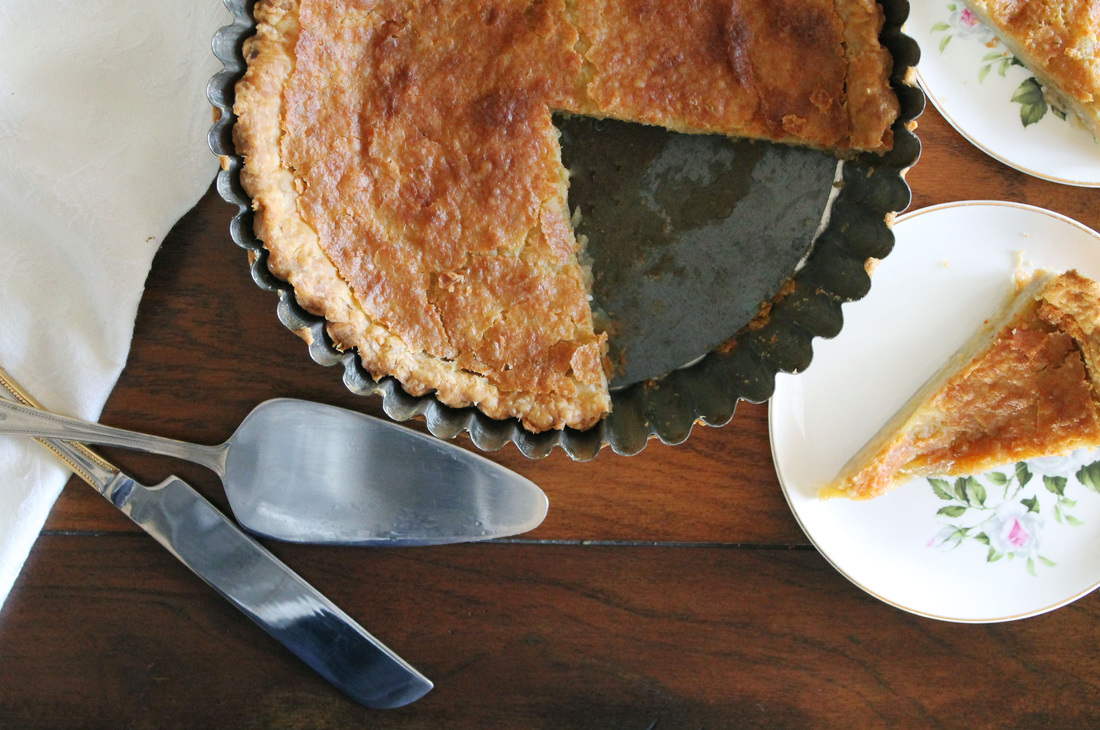
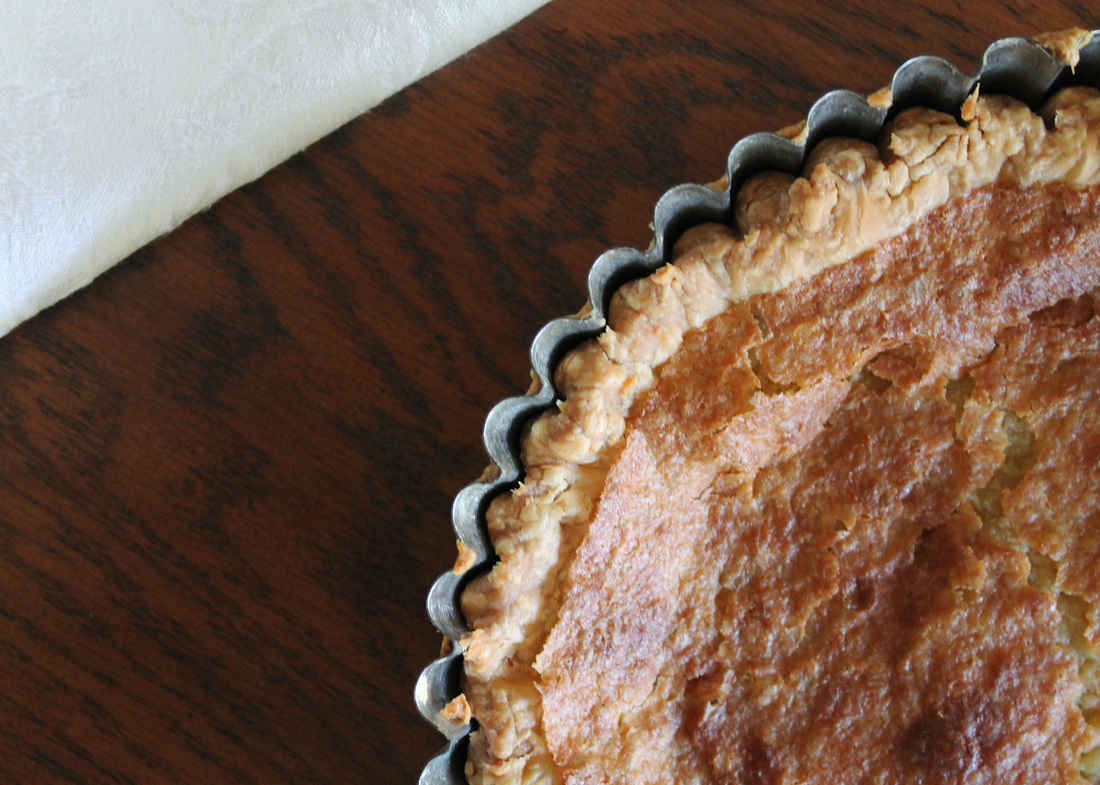
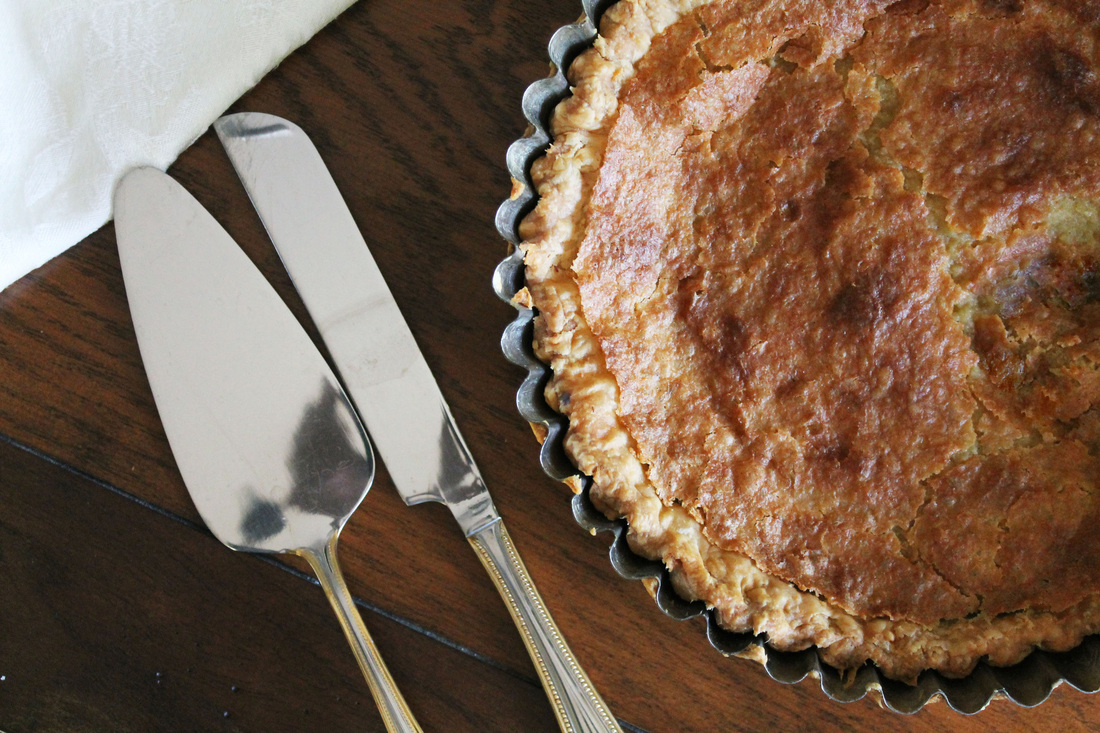
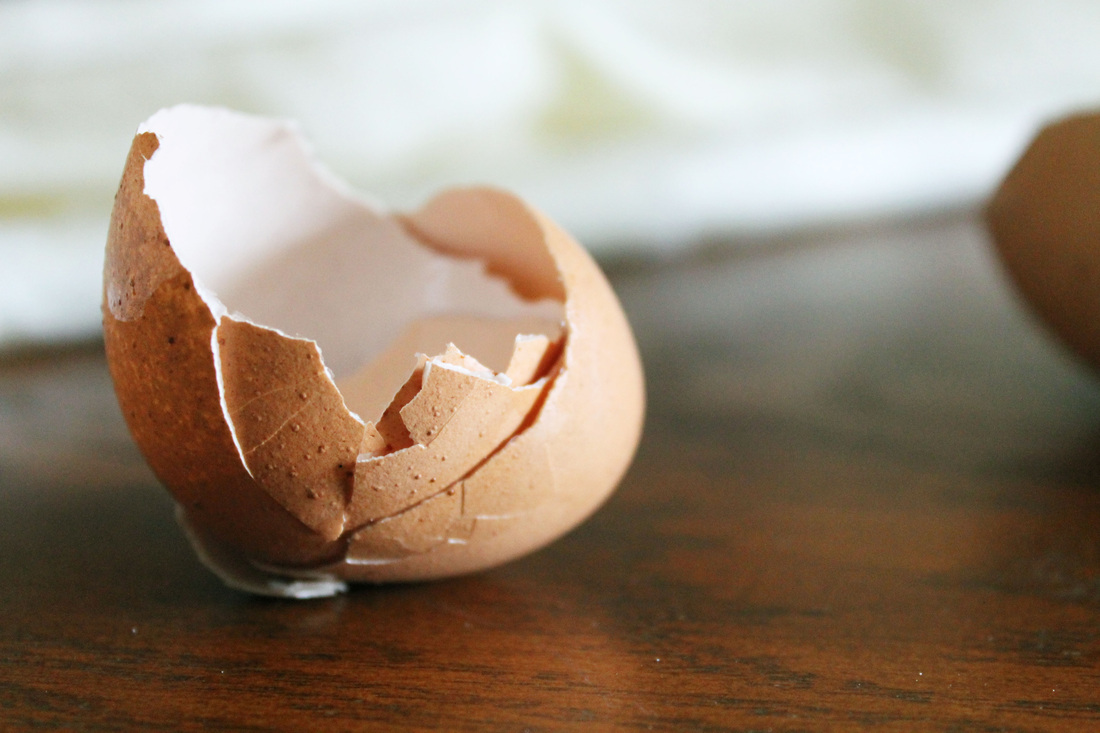
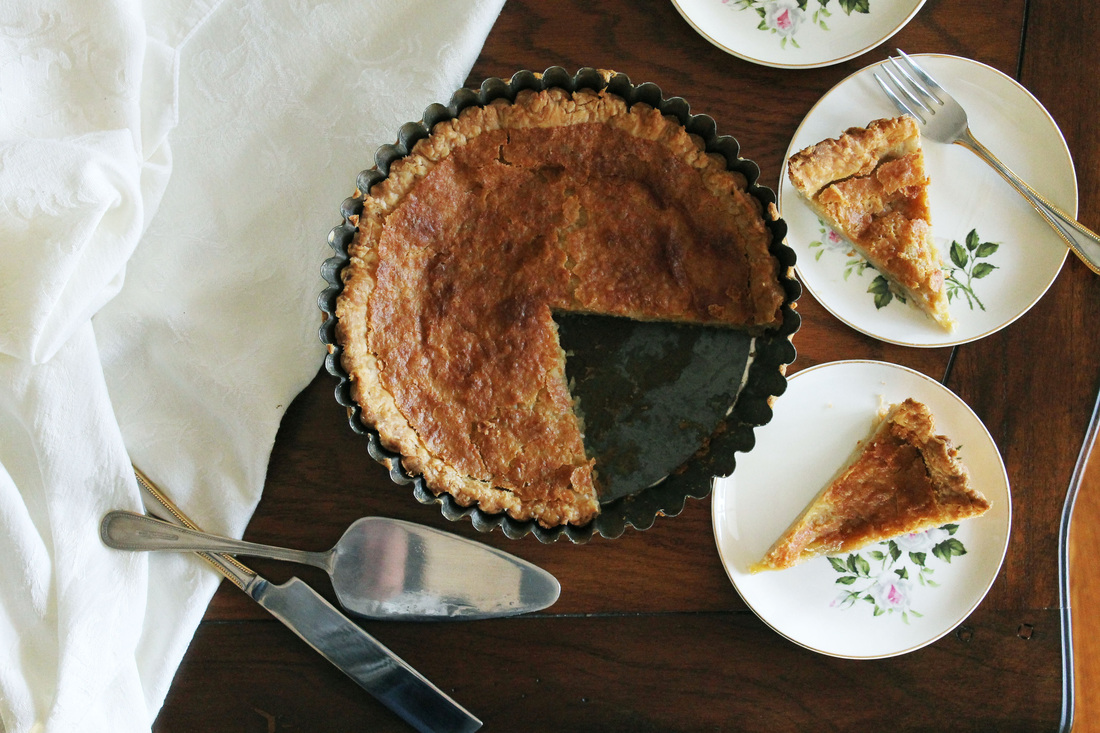
Buttermilk pie is so magical. I was very skeptical before I tasted it for the first time. It is basically a vanilla custard pie with a bit of southern drawl. I've heard southern bakers call it "sugar pie." This pie is perfect in so many ways because it's unique, simple and a flash to make. It's also incredibly beautiful after it's baked because the top of the filling becomes golden brown and flaky while the inside remains smooth and custard-y. And you don't even have to par-bake the crust! I have done it both ways, but most old school buttermilk pie recipes insist you bake the filling in a raw crust. I have also seen quite a few recipes that employ lemon juice and zest instead of vanilla. I think a little zest would be delicious, but you can easily make this a lemon pie if you're not judicious with your use of juice and zest. In addition, there is already an acidic aspect from the buttermilk, which is why I prefer to use good old vanilla extract.
Buttermilk Pie
Makes 1 - 9" Pie
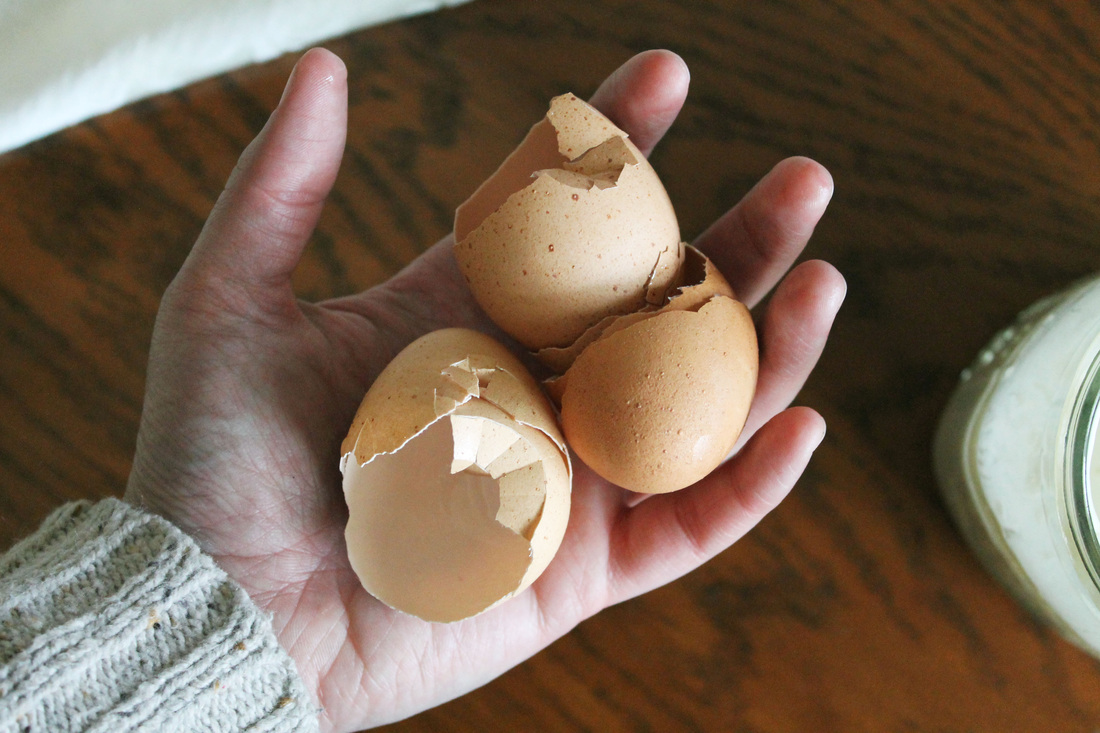
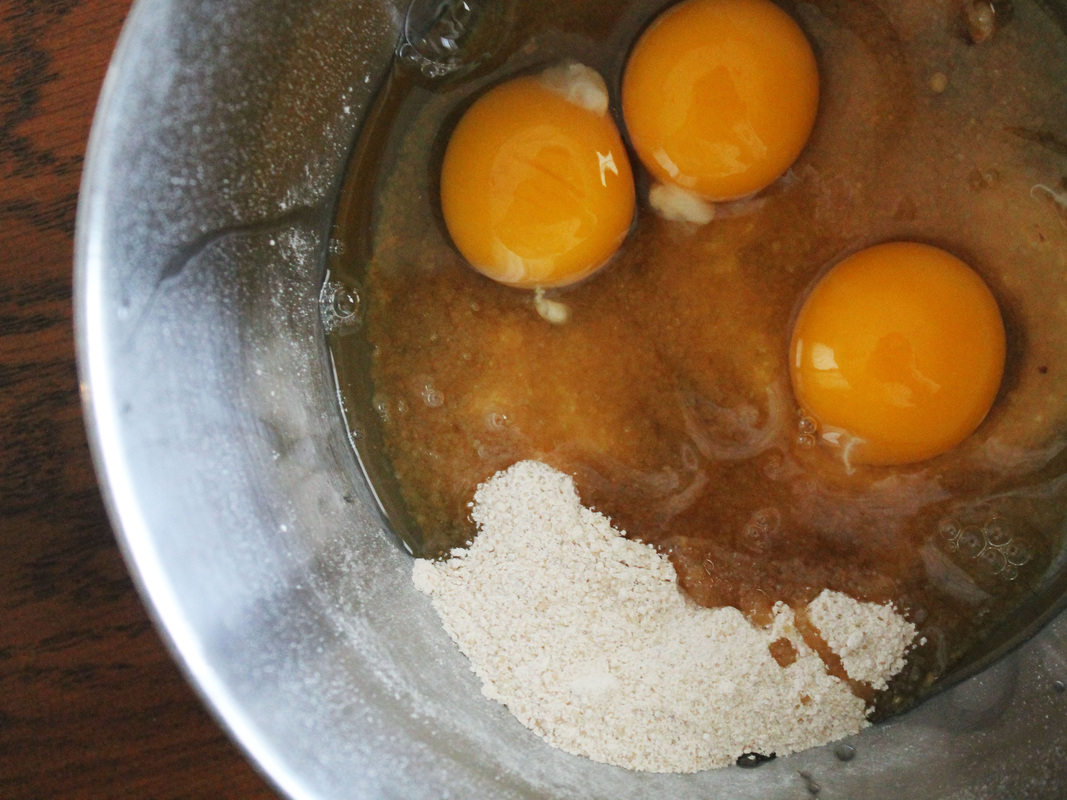
| Ingredients 1/2 recipe pie dough 150 g (3 large) eggs 396 g (2 cups) sugar 30 g (1/4 cup) flour 113 g (1/2 cup) unsalted butter, melted and cooled slightly 112 g (1/2 cup) buttermilk, shaken well 1/2 tsp vanilla extract 1/4 tsp salt | Method Roll out the chilled pie dough and form it into a 9" pie or tart pan that is around 2" deep. Chill the pie dough in the refrigerator for at least 30 minutes or the freezer for 15. Preheat a conventional oven to 350 F. In a large bowl, briefly whisk the eggs and sugar and then combine with the rest of the ingredients in the order listed. Whisk well to combine. Pour the mixture into the chilled pie shell, tap it gently a few times against the counter to release air bubbles and then place the pie on the center rack of the oven. Bake for approximately 45 minutes to 1 hour, or until the filling isn't liquid-like. A firm jiggle is what you're looking for. The top of the filling will become flaky and turn beautiful golden brown. If at any point the crust starts to darken too much, shield it and continue baking until the filling is set. Let the pie cool completely on a rack before serving. The flavor will improve overnight. |
 RSS Feed